Learn How to Tie Five Essential Fishing Knots -
You’ve studied the techniques, invested in fishing gear and now you’re eager to experience some tackle-testing hookups. A little practice before that special trip is in order, and a few backyard casts are not enough. Learning some basic fishing knots will save time on the water, reduce frustration and minimize the chances a lunker will break your line. Tying fishing knots is easier than you think, and these essential knots will become familiar friends with each outing.
Why Different Knots?
Fishing line is not the same as the cotton, polypropylene or nylon rope sold at the hardware store. Throw a good knot on the relatively large-diameter versions used for home-improvement projects and the resulting twists are relatively gentle turns, with enough surfaces in contact to survive the stress.
The same cannot be said about fishing line. It’s thin by design, which can make the wrong knot surrender strength with each sharp angle and tight bend. Odds are good you’re intimately familiar with the overhand knot, but tie one onto six-pound monofilament and line strength at that point drops by roughly 50 percent—three pounds in this case.
There’s another factor at play. Most fishing line is smooth and abrasion resistant in order to survive the knicks and scrapes doled out as it passes by submerged rocks, trees and other unseen obstacles. The wrong knot on line that slick often pulls completely out under stress. An improper knot also increases the odds it will not cinch completely down initially. If this happens and the knot snugs when a big fish strikes, it adds stress, unwanted friction and increases failure rate.
Improved Clinch Knot
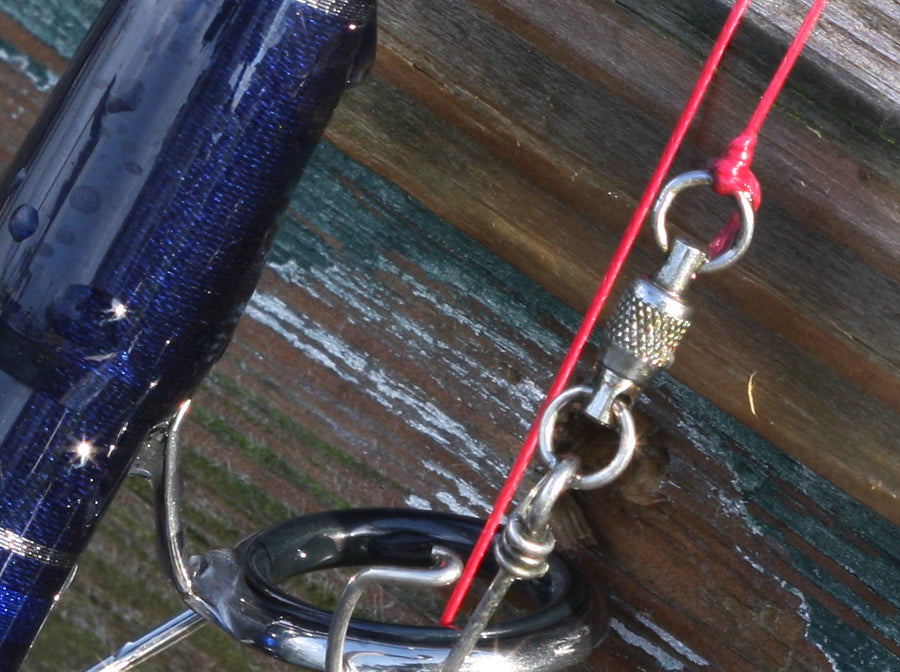
An improved clinch knot, commonly referred to as the improved cinch knot, is likely the most common fishing knot for beginners, and for good reason. Tied properly, an improved clinch knot maintains roughly 95 percent of a monofilament line’s rated strength. It is a great choice for attaching a hook, swivel or lure.
Note: If using braided line or any fishing line that approaches or exceeds 30-pound test, a Palomar knot is probably a better choice.
Simply pass five to seven inches of line through the eye of the tackle you’re tying on. Then, wrap that end around the line above the eye five to seven times—the heavier the line, the fewer wraps.
Hold those twists above the eye so they don’t unravel and then pass the loose end of the line through the loop closest to the eye. Doing so creates another loop behind, and the last step is to pass the loose end through that one.
Now you’re ready to pull the knot snug and trim the excess line. To ensure the knot fully tightens the first time, anglers will wet the line—saliva or lip balm works in a pinch. It’s a great idea, but the added slipperiness may not be welcome when you’re first learning the knot.
Palomar Knot
The palomar knot is easier to tie than the improved clinch, but it’s generally not a good choice for most monofilament. Instead, the palomar knot is ideally suited for braided line.
To tie, pull a generous amount of line through the eye of the tackle. Then pass the loose end back through, which will create a large loop.
Now, while holding the loose end and line (toward the fishing reel) between your fingers, use your other hand to make a simple overhand knot with the loop. Do not tighten.
Pass the tackle—hook, sinker and swivel—through that loop. Snug the knot, trim off the excess line and you’re ready to go.
Turle Knot
Fly fishing with a light leader and small hooks is one of the applications where the turle knot sees a lot of use. It’s a solid choice for beginners, perhaps the best option if tiny jigs are filling stringers with fish.
Simply pass the fishing line through the eye and, on that end, loosely tie an overhand knot. Make sure you pass the line through twice in that knot.
Push the tackle you’re tying on through the large loop that remains. Pull taught, trim excess line and you’re set for fishing.
Trilene Knot
A Trilene knot maintains somewhere around 90 percent of monofilament’s strength when tied correctly. It’s rated a little less than that of the improved clinch, although some anglers find it easier to tie and less cumbersome than its first cousin.
Start by passing five to seven inches of line through the tackle’s eye, twice (not the single time like the improved clinch). Twist that loose section around the line above four times, and at turn five, the working end goes through the loop at the eye. Snug and trim any excess, but leave an eighth of an inch or so for “safety.” It’s there just in case things slip.
Tucked Sheetbend
You may discover that some of your fishing hooks are pre-tied with monofilament line wearing neatly knotted loops at the end. There’s no need to cut that off, because the tucked sheetbend knot has you covered.
If you know the regular sheetbend knot, you will find the steps familiar. This one’s another great option for beginners when terminal tackle comes pre-rigged.
Start by passing the loose end of the fishing line (toward the reel) through the pre-tied loop. From there it goes around the loop on the outside once and then back through. The loose end then travels back through the loop, underneath its two previous passes. Snug everything and you’re all set for a fun day on the water.
A Lifetime of Service
Build some basic familiarity with these knots and by the time you hit the water you’ll find tying knots to be easier, more relaxing and productive. You will likely graduate to advanced knots and rigs down the line, but these knots will always serve you well.
Learn More at Your Local Fishing Tackle Store
Want to learn more about fishing rigs, knots and which line will work best? Stop by your local bait and tackle shop. Fishing tackle retailers are the experts when it comes to selecting tackle and gear. They will be happy to share their knowledge and provide trusted advice.


